
Tip & Trick
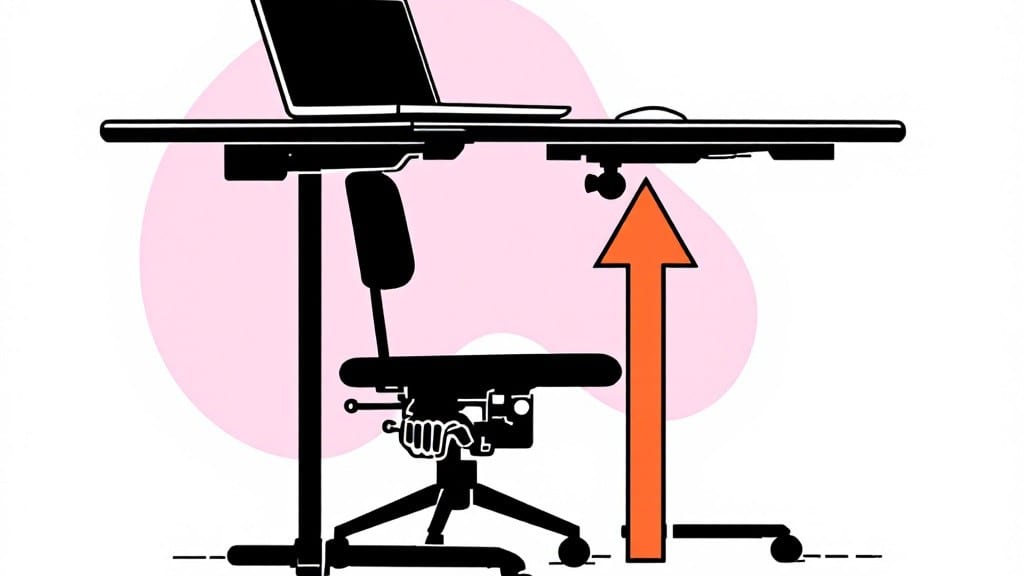
Learn how to set up an ergonomic workstation the right way—my first DIY fix cured my back pain after six months of coding marathons, with no more neck cramps or wrist tingles by the end of the day. 💻 The key isn’t fancy gear; it’s tweaking what you already own. to match your body's natural angles.
I'll show you exactly how to tweak monitor height, keyboard placement, and even your software to work with you, not against you.
Start with your monitor at eye level—use books or a sturdy stand if needed—and position it about 20 inches away. Your keyboard should sit just below elbow height, with your wrists resting flat (no typing with bent wrists!).
For mouse users, try a vertical grip or wrist rest to avoid repetitive strain. These small shifts make the biggest difference, and they take less than 10 minutes to dial in.
Software tweaks matter too: enable dark mode to reduce eye strain, set up keyboard shortcuts for posture breaks (like standing every 30 minutes), and adjust text scaling so you're not squinting.
I use a free app called Stretchly to nag me when I forget—it's saved my shoulders more times than I can count.
This setup works for Windows, Linux, or Mac—just swap the shortcut keys—and adapts to any desk space. The goal isn't perfection; it's creating a workflow that doesn't punish you. Let's get started with the hardware first, then we'll polish the software side.
📚 In This Guide
- What you need
- Instructions
- Tips and common mistakes
- Wrapping up and next steps
What you need
- ○ Adjustable chair – Look for one with lumbar support, adjustable height (17"-20" from seat to floor), and armrests (optional but helpful).
- ● Desk or work surface – Height should allow elbows to rest at 90°-110° when typing (28"-30" from floor). Consider a standing desk if you prefer alternating positions.
- ● Monitor(s) – At least one with adjustable height (20"-24" from eyes) and a width that fits your field of vision (arms-length away).
- ● Keyboard & mouse – Ergonomic or at least wrist-friendly. A mouse pad with a wrist rest is a plus!
- ● Footrest or stool – If your feet don’t touch the ground, this keeps your legs at 90°.
- ● Monitor arm or stand – Lets you adjust screen height effortlessly.
- ● Laptop stand – Elevates your screen to eye level (critical for laptop users!).
- ● Anti-fatigue mat – If standing, this reduces strain on your feet and legs.
- ● Document holder – Keeps papers at eye level to avoid neck strain.
- ● Blue light glasses – Reduces eye strain from screens.
Step-by-Step instructions for creating an ergonomic workstation
Here's how I transform any desk into a pain-free, posture-friendly setup in under an hour.
🔧 Step 1: Position Your Chair for Optimal Support
Start with your chair at the desk—adjust the seat height so your feet rest flat on the floor with knees bent at a 90-degree angle. Your thighs should be parallel to the ground, not dangling or scrunched. If your feet don't reach, use a footrest or stack of sturdy books to elevate them slightly.
Next, locate the lumbar support (usually an adjustable backrest) and position it to match your lower back's natural curve. Most chairs have a lever or dial—set it so the curve aligns with your spine's inward dip. I always test this by sitting upright: if your lower back feels unsupported, you've got it wrong.
Finally, adjust the armrests so your shoulders stay relaxed. Elbows should bend at 90 degrees when typing, with your forearms parallel to the floor. If your arms feel strained, lower the armrests until your shoulders drop naturally.
🖥️ Step 2: Align Your Monitor at Eye Level
Move your monitor directly in front of you, about 20-30 inches away. The top of the screen should sit at or just below eye level—this prevents neck strain. If your monitor is too high, place it on a stack of books or a riser. Too low? Use a sturdy box or monitor stand.
Here's the thing—I see people constantly looking down at their screens. The fix is simple: raise the monitor until you're looking slightly downward (about 10-15 degrees). Your head should stay neutral, not tilted forward or backward. If you wear glasses, ensure the top of the screen aligns with your line of sight.
For dual monitors, position the primary screen straight ahead and the secondary at a 30-degree angle. Avoid extreme side glances—your head should turn slightly, not swivel. If needed, adjust the secondary monitor's height to match the primary.
⌨️ Step 3: Optimize Keyboard and Mouse Placement
Slide your keyboard directly in front of the monitor, with the front edge 2-3 inches from the desk's edge. Your wrists should rest in a neutral position—no bending up or down when typing. If your keyboard is too high, use a wrist rest (but don't rest your wrists on it while typing).
Place your mouse at the same height as the keyboard, within easy reach. If you're using a vertical mouse, position it so your forearm stays straight and your shoulder doesn't hunch. I've found that a mouse pad with a slight incline helps keep your wrist aligned naturally.
For laptop users, invest in an external keyboard and mouse—typing on a laptop keyboard with your wrists bent is a fast track to strain. Even a $20 wireless keyboard makes a world of difference.
💡 Step 4: Adjust Lighting to Reduce Eye Strain
Position your monitor perpendicular to windows to avoid glare. If that's not possible, use anti-glare screen protection or adjust the monitor's brightness to match the ambient light. Your screen should be slightly dimmer than the room around it—this reduces eye fatigue.
Add a task lamp to the side of your monitor (not directly behind it) to eliminate shadows on your workspace. Avoid overhead lighting that casts shadows across your screen. If possible, use warm white lighting (2700K-3000K)—it's easier on the eyes than cool blue light.
Here's a pro tip: if you work long hours, consider blue light filters on your monitor or glasses with amber-tinted lenses. They reduce digital eye strain by cutting harmful blue wavelengths.
⏰ Step 5: Test and Fine-Tune Your Setup
Sit at your desk for 5-10 minutes and check for tension points. Your shoulders should feel relaxed, not hunched. If your neck feels stiff, readjust the monitor height. If your wrists ache, lower the keyboard or add a wrist rest.
Take a moment to notice your posture: spine straight, shoulders back, elbows at 90 degrees. If you're slouching, your chair height or lumbar support needs adjustment. I always set a timer to check my posture every 30 minutes—it's easy to slip into bad habits.
Finally, stand up and walk around for 2-3 minutes every hour. This breaks up static posture and keeps your muscles active. Pair this with micro-breaks (stretching your arms overhead, rolling your shoulders) to maintain comfort.
Tips & tricks for perfect ergonomic workstation setup
These simple adjustments will transform your workspace into a pain-free zone—no fancy equipment required.
Chair Height Check: In Step 1, when adjusting your chair, here's the thing—your knees should form a 90-degree angle with your thighs parallel to the floor. I learned this the hard way after spending a week with my feet dangling, which led to swollen ankles and lower back pain. If you're using a footrest, make sure it's sturdy enough to support your weight without wobbling.
Monitor Angle Secret: For Step 2, that slight 10-15 degree downward angle isn't just about looking down—it's about keeping your neck in its natural position. Try this: stand up and look at your monitor. If you're tilting your head back to see the top, your monitor's too high. Most people need to raise their monitor 2-3 inches from its current position to achieve this perfect angle.
Keyboard and Wrist Alignment: In Step 3, when positioning your keyboard, remember that your wrists should never rest on the wrist rest while typing—this can actually cause more strain. Instead, use it as a landing pad when you're not actively typing. For mouse users, that slight incline on your mouse pad isn't just for looks—it helps keep your wrist in a neutral position, preventing that dreaded "mouse arm" syndrome that creeps up after long workdays.
Lighting Strategy: For Step 4, if you can't position your monitor perpendicular to windows, try using a vertical blind or sheer curtain to diffuse the light. I've found that even a small LED desk lamp with adjustable brightness can make a huge difference in reducing eye strain. The key is to eliminate shadows on your screen—nothing kills productivity like squinting to read your emails.
Pro Tips for Set Up Ergonomic Workstation
- These simple adjustments will transform your workspace into a pain-free zone—no fancy equipment required.
- Chair Height Check: In Step 1, when adjusting your chair, here's the thing—your knees should form a 90-degree angle with your thighs parallel to the floor.
- Monitor Angle Secret: For Step 2, that slight 10-15 degree downward angle isn't just about looking down—it's about keeping your neck in its natural position.
Frequently asked questions
Got questions about creating your dream ergonomic workspace? You’re not alone! Here are answers to the most common concerns—so you can focus on comfort and productivity without the guesswork.
How long does it take to set up an ergonomic workstation?
Most adjustments take 10–30 minutes if you’ve gathered your tools (like a monitor stand or ergonomic chair). Start with the big-ticket items—chair height, screen position, and keyboard placement—and fine-tune as you go. Pro tip: Spend 5–10 minutes daily tweaking until it feels just right—your body will thank you!
Can I make an ergonomic workstation on a budget?
Skip pricey gadgets and focus on free or low-cost swaps:
- Use books or a sturdy box to elevate your laptop screen to eye level.
- Swap your chair for a stable, cushioned stool (even a yoga ball works!).
- Repurpose a wireless keyboard/mouse (check thrift stores or sales).
- Try DIY wrist rests with rolled-up towels or foam.
How often should I adjust my ergonomic setup?
Check your setup weekly (or whenever you notice discomfort). Growth, new tasks, or even a changed desk height can throw things off. Set a calendar reminder to:
- Readjust chair height (feet flat, knees at 90°).
- Realign your screen (top at eye level, 20–30 inches away).
- Stretch your arms to avoid shoulder strain.
What if my workspace is too small for ergonomic rules?
Tight spaces? No problem! Optimize vertically and multi-task:
- Use a lap desk to free up floor space for knee clearance.
- Mount your monitor on the wall or a freestanding arm to save desk real estate.
- Try a compact ergonomic keyboard (like a split or vertical design).
- Rotate tasks: Stand at a countertop or tall table for meetings.
I still feel pain after adjusting—what am I missing?
Pain after setup often means one (or more) key areas are off. Double-check:
- Neck/shoulders: Screen too high? Lower it or prop up documents.
- Wrists/hands: Keyboard too far? Use a tray or wrist pad.
- Lower back: Chair too soft? Add lumbar support (or a rolled towel!).
- Feet: Not flat? Use a footrest (even a stack of books).
Wrapping up and next steps
Creating an ergonomic workstation doesn’t have to be complicated—just a few thoughtful adjustments can make a world of difference! 🌟 By prioritizing proper chair height, monitor alignment, keyboard positioning, and movement breaks, you’ll reduce strain and boost productivity. Start small: tweak one thing today, then build from there.
Ready to transform your workspace? Take action now:
- Grab a notepad and jot down your current setup’s pain points.
- Pick one adjustment from this guide and implement it today.
- Schedule a quick posture check-in every few hours—your future self will thank you!