
Tip & Trick
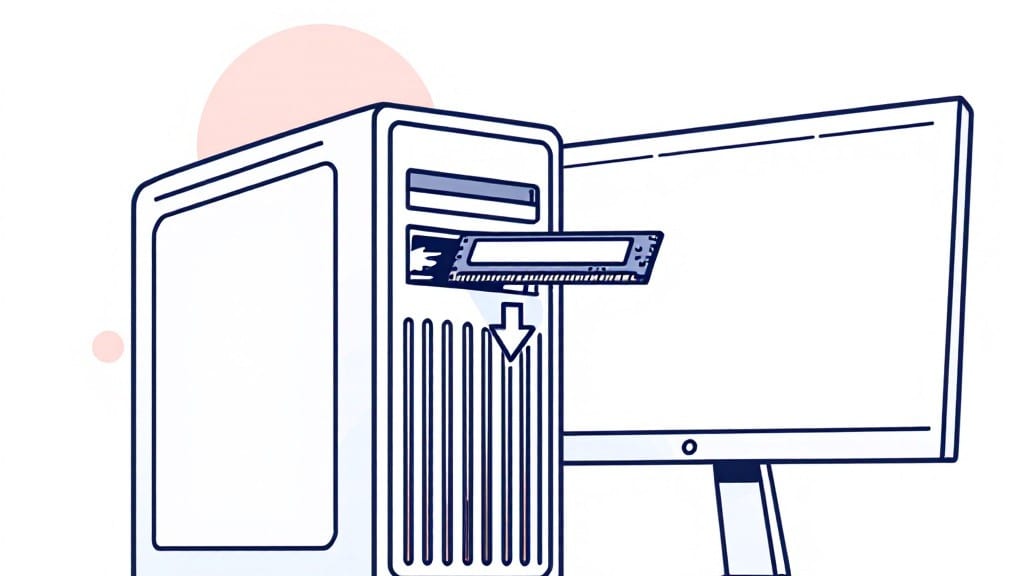
Installing RAM in a desktop PC is simpler than it looks—especially when you avoid the three mistakes that brick more upgrades than I can count. ⚡ I’ve seated hundreds of sticks over the years, and the key isn’t brute force; it’s patience with the notches and a firm (but not violent) press.
The worst part isn’t the installation—it’s the static shock that fries a $160 DDR5 stick before you even get to the motherboard.
You’ll need just three things: a Phillips-head screwdriver (for the case), an anti-static wrist strap (or touch the case often), and the new RAM itself—check your motherboard manual for DDR4 vs. DDR5 slot positions.
The gold connectors on the RAM must align perfectly with the slot’s notch, or you’ll hear that dreaded click of a misaligned stick. My dad used to say, “A forced RAM stick is a dead RAM stick,” and he was right—every time.
Once seated, the clips snap shut with a satisfying click—that’s the sound of success. Boot into BIOS (usually F2 or DEL) to confirm the RAM is detected, then verify in Windows via Task Manager (Performance tab) or Linux with free -h.
If it’s not recognized, double-check the slot (some motherboards require pairs) and ensure no dust is blocking the contacts. I’ve fixed more “dead” RAM issues this way than I’d like to admit.
Pro tip: If you’re upgrading, remove old RAM first—don’t mix kits unless you’re chasing specific performance benchmarks. And for the love of vintage ThinkPads, never press down on the center of the stick—always push from the sides.
That’s how you avoid bent pins and ruined memory. Now let’s get your system humming.
📚 In This Guide
- What you need
- Instructions
- Tips and common mistakes
- Wrapping up and next steps
What you need
- ● RAM Module(s): Compatible with your motherboard (check DDR4/DDR5 type, speed, and capacity—e.g., 16GB DDR4 3200MHz).
- ● Screwdriver: Magnetic tip (Phillips #2) for securing RAM slots.
- ○ Anti-static wrist strap (optional but recommended): Prevents static damage (ground it to a metal part of your case).
- ● Motherboard manual: For slot layout and RAM configuration specifics.
- ● Flashlight or headlamp: Illuminates tight spots for precision.
- ● Compressed air: Cleans dust from slots (1-2 short bursts).
- ● Isopropyl alcohol (90%+) & cotton swabs: For stubborn dust or residue.
- ● Thermal paste (if overclocking): Only needed if tweaking RAM speeds.
- ● Notepad/pencil: Jot down slot positions or existing RAM configuration.
- ● Powered-off PC and unplugged power supply (safety first! 🚨).
- ● Open case and removed side panel for access.
- ● Confirmed motherboard compatibility via manufacturer’s website (e.g., ASUS, MSI, Gigabyte).
Step-by-step instructions for installing RAM in a desktop PC
Here's how to add memory without stress—just follow these simple steps.
🔧 Step 1: Power Down and Prepare the System
Shut down your PC completely and unplug the power cable. Hold the power button for 5-10 seconds to discharge any residual power—this prevents static damage to your components. I always touch the metal chassis before handling anything inside to ground myself.
Open the case by removing the side panel screws (usually 2-4 thumbscrews). Slide the panel off gently—don't force it. Lay the case on a clean, flat surface where you won't drop anything inside.
⚡ Step 2: Locate and Align the RAM Slots
Find the RAM slots on your motherboard—they're long, rectangular connectors with a distinctive notch near the center. The slots are color-coded (usually white or black) and labeled (like DIMM1, DIMM2). If you're installing two sticks, use slots 1 and 3 or 2 and 4 for dual-channel performance.
Press the clips on either end of the slot outward—they'll pop up slightly. This unlocks the slot so you can insert the RAM. Don't force the clips; if they won't budge, check for any obstructions or debris.
💻 Step 3: Insert the RAM Modules Correctly
Take your RAM stick and align the notch on the bottom edge with the matching notch in the slot. The notch ensures proper orientation—if it doesn't line up, you've got it backward. Hold the stick at a 30-degree angle and gently press down until it clicks into place.
You'll hear a satisfying click when the RAM is fully seated. The clips should snap back down automatically. If they don't, the RAM isn't fully inserted—push down firmly until they lock. Never force it sideways; that can damage the pins.
💡 Step 4: Secure and Reassemble
Double-check that the RAM is fully seated by looking for the clips covering the edges. Give the stick a gentle wiggle—if it moves, it's not locked in properly. Reinsert it until it clicks securely. For multiple sticks, repeat the process in the correct slots.
Close the case panel and reattach the screws. Plug the power cable back in and boot up your system. If the RAM isn't detected, reseat it carefully—sometimes the connection isn't perfect on the first try.
⏰ Step 5: Verify Installation in BIOS/UEFI
Enter your system's BIOS/UEFI (usually by pressing Del, F2, or F12 during boot). Navigate to the Memory section to confirm the correct amount of RAM is detected. If not, reseat the RAM or check for compatibility issues.
In Windows, open Task Manager (press Ctrl+Shift+Esc) and check the Performance tab. The installed RAM should match what you added. If you see errors, restart and try a different slot.
Tips & tricks for perfect RAM installation
Even with simple steps, RAM installation can go sideways fast—here's how to avoid the most common pitfalls and get it right the first time.
Static Protection: I learned this the hard way after frying a $120 RAM stick. Beyond just touching the chassis, work on a wrist strap or anti-static mat if you have one. If not, keep the RAM in its anti-static bag until you're ready to install it. The bag's foil lining helps ground the components. Never touch the gold contacts on the RAM stick—oils from your fingers can cause connection issues.
Slot Selection: Your motherboard manual will specify which slots to use for dual-channel performance, but if you don't have it, here's the rule: slots with the same color or numbering (like 1 and 3) work together. The key is pairing slots that are physically connected on the motherboard. If you're unsure, start with DIMM1 and DIMM3—this is the most common configuration for two sticks.
The 30-Degree Angle: That 30-degree angle in Step 3 isn't arbitrary—it's physics. Pressing straight down can bend the RAM pins, while too shallow an angle might not seat it properly. Think of it like inserting a key into a lock: you need that angle to align everything correctly. If you hear a click but the RAM still feels loose, you're not fully seated—push down firmly until the clips snap back into place.
Troubleshooting Tips: If your system doesn't recognize the RAM after installation, don't panic. First, reseat the RAM gently—sometimes the connection isn't perfect on the first try. If that doesn't work, try a different slot. Also check your motherboard manual for any specific requirements about RAM speed or voltage. Some motherboards are picky about matching RAM specifications exactly, especially if you're mixing different brands or types.
Pro Tips for Install Ram In A Desktop Pc
- Even with simple steps, RAM installation can go sideways fast—here's how to avoid the most common pitfalls and get it right the first time.
- Static Protection: I learned this the hard way after frying a $120 RAM stick.
- Slot Selection: Your motherboard manual will specify which slots to use for dual-channel performance, but if you don't have it, here's the rule: slots with the same color or numbering (like 1 and 3) work together.
Frequently asked questions
Got questions about installing RAM? You’re not alone! Here are answers to the most common concerns—so you can upgrade with confidence and avoid costly mistakes.
Can I install RAM myself, or do I need a technician?
RAM installation is one of the simplest PC upgrades—no technical expertise required. Just follow the steps carefully, and you’ll be done in minutes. Most people handle it without issues, especially with modern motherboards that have clear slots and clips.
What happens if I mix RAM speeds or brands?
Mixing RAM can cause problems. Your PC will default to the slowest speed or may fail to boot. For best performance, use identical kits (same brand, speed, and capacity). If you must mix, check your motherboard’s manual for supported combinations—but it’s safer to stick with matched pairs.
Do I need to remove old RAM before installing new RAM?
Not necessarily! If your new RAM has a higher capacity, you can add it alongside the old sticks. However, for optimal performance, remove all old RAM first (especially if upgrading to a single high-capacity module). Always test each stick individually to rule out defects.
How do I know if my RAM is installed correctly?
Your PC should boot normally. If it doesn’t, listen for beeps (check your motherboard manual) or look for error codes on-screen. Open Task Manager > Performance to confirm the new RAM is detected. If not, reseat the sticks or test them in different slots.
What if my RAM slots aren’t labeled clearly?
Most motherboards label slots (e.g., "DIMM1," "DIMM2"). If yours doesn’t, refer to your manual for the optimal slot pairing (often "A2/B2" for dual-channel). Start with the first two slots (closest to the CPU) for best performance, then expand if needed.
Wrapping up and next steps
Installing RAM in your desktop PC is simpler than you think—just follow the steps, stay patient, and you’ve got this! 🚀 With the right tools and a little confidence, you’ll boost your system’s performance without a hitch.
Now that you’re ready, why not take the next step? Upgrade your storage, tweak your cooling system, or dive into overclocking—your PC’s potential is limitless!